Think big. How to prepare an artwork for bigsize freeform print on Alu-dibond.
Preparing drawings for freeform bigprints has its special challenges. In the following a possible –my– way to realise this in Photoshop CC:
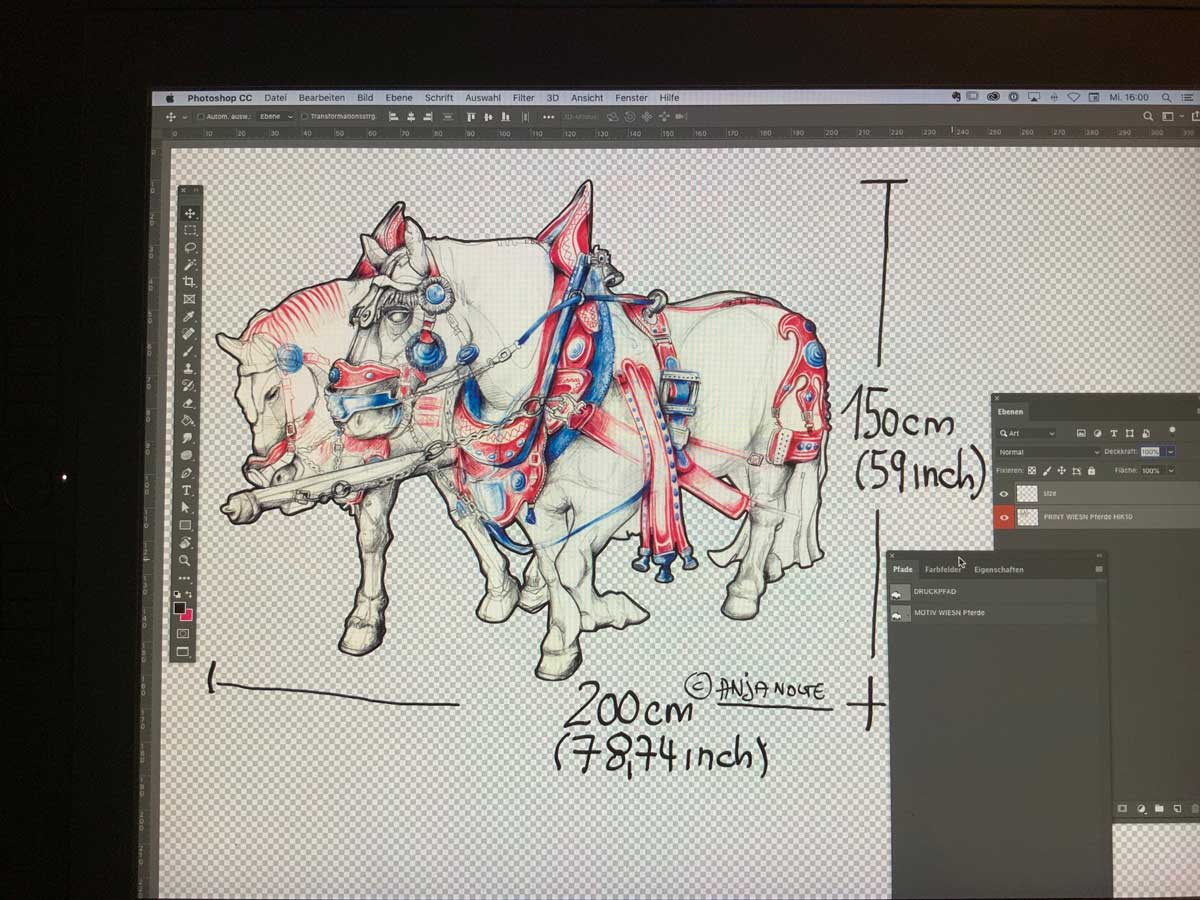
- Generate a psd-file in the endsize-printformat 100 dpi, f.ex. 200 x 200 cm.
- Divide size through 4= 50 x 50 cm, multiply dpi with 4= 400 dpi
- Change image size to 400 dpi, 50 x 50 cm, save as new psd ( I name it „Montage“-psd)
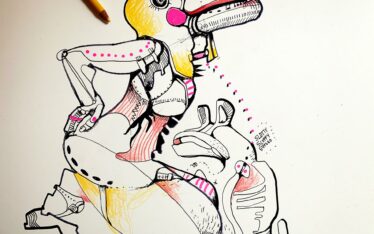
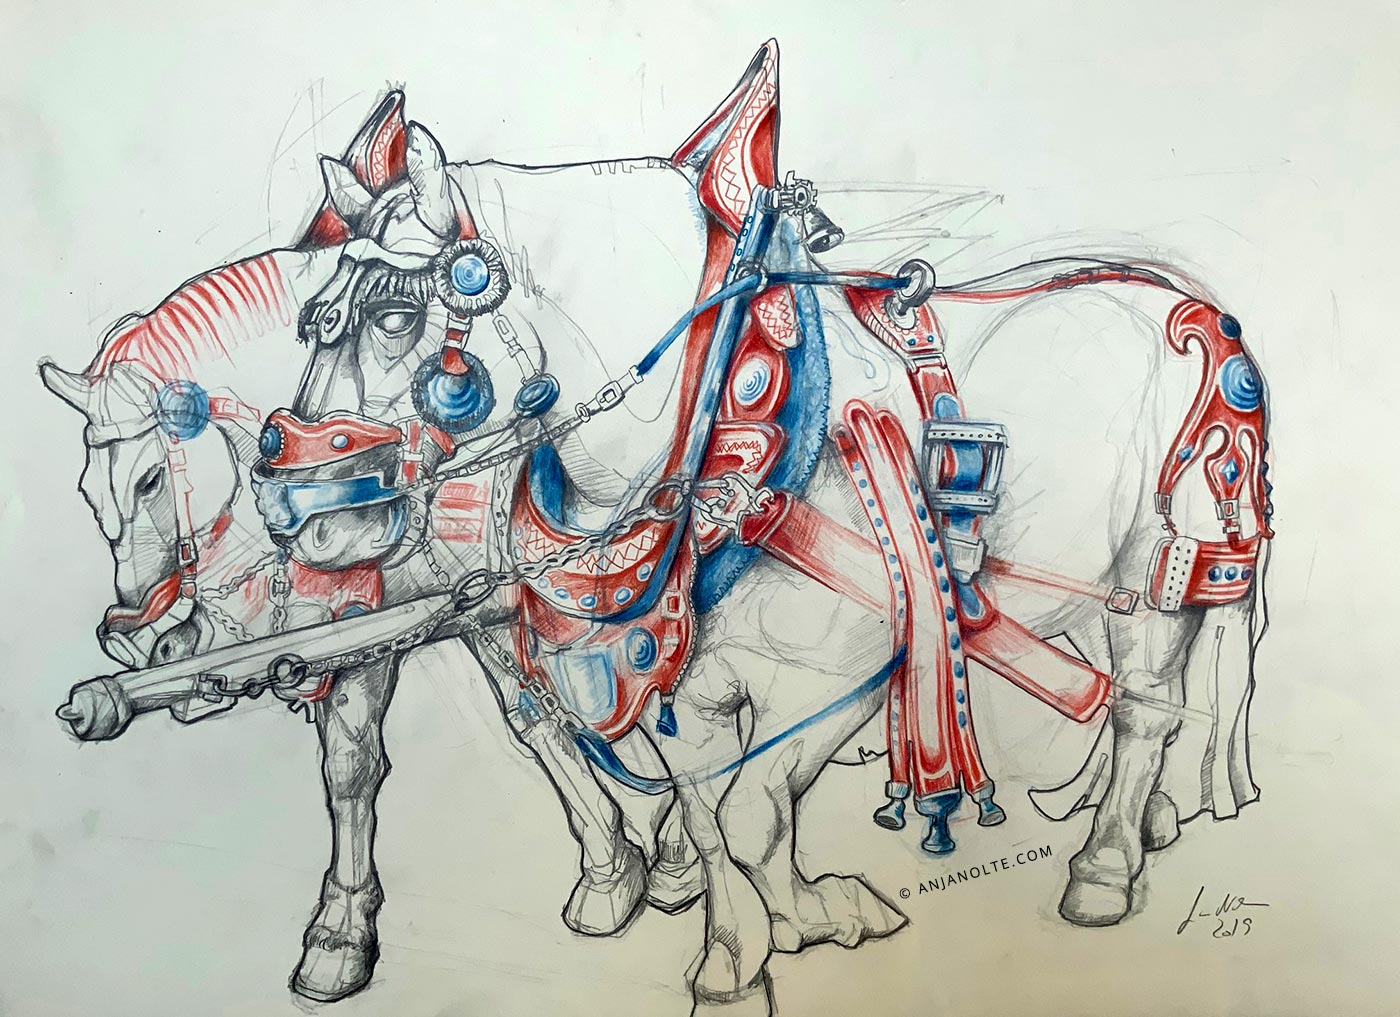
- Scan your artwork with (minimum) resolution of 400 dpi (depends on size of artwork).
- Copy and paste the scanned image into your „Montage“-psd, name the layer „Original“.
- Create a new group above: „Montage”.
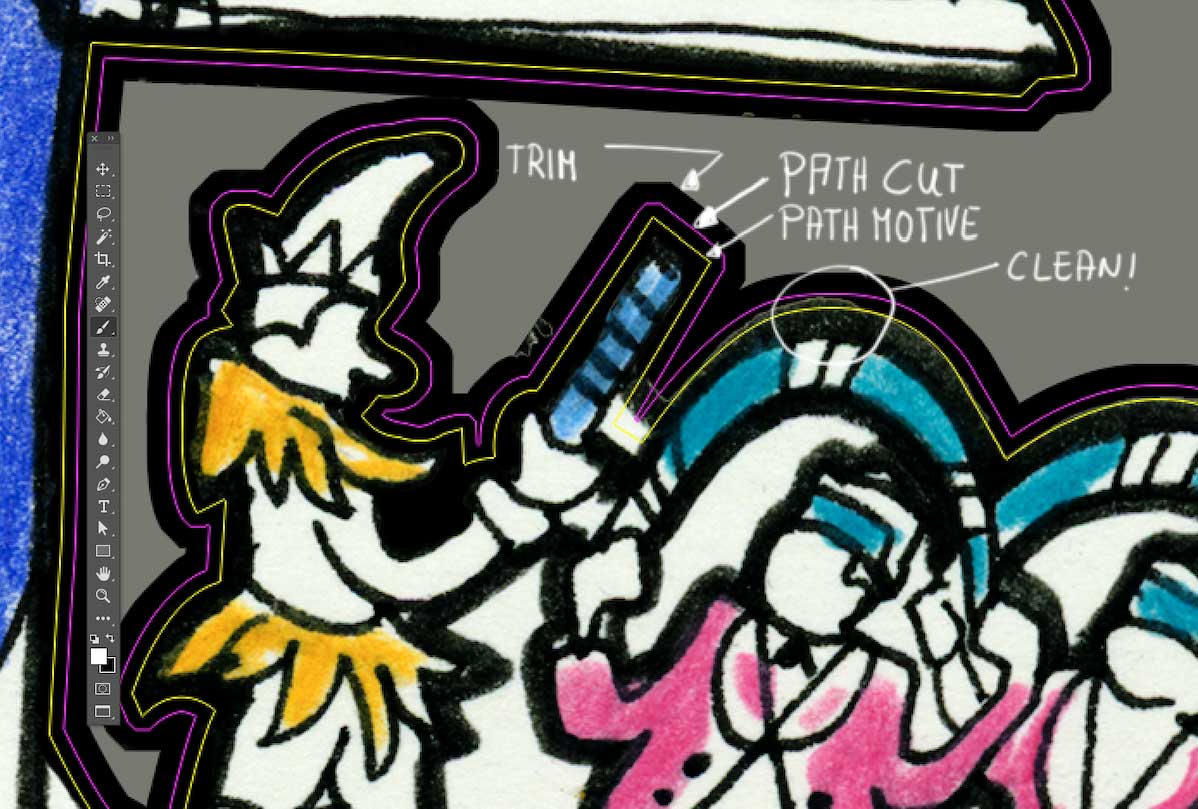
- Create a path with the pathdrawing tool exactly outside/ along the drawing line of your motive.
- Save path as „motiv-path”
- Add cutouts within the path if wanted.
- Create a selection with the motiv-path (path panel).
- Copy the selected artwork and paste (in original position) in the group Montage, name the layer „Motiv”.
- Next you need a bleed difference of 5 mm (devided through 4).
- Create a selection of your „Motiv-path”, expand the selection with 20px.
- Create a new layer „trim“ below your artwork.
- Fill the layer – using your expanded selection – with black
- Create a new layer „corrections“ above your artwork.
- Carefully soften the hard edge between bleed difference and artwork with a soft brush (black, half covering power) on this layer.
- Add color and or tonal value adjustments (use filter icon on layer panel).
- Hide all layers ( background should be transparent) except your group „montage“ with the layers trim, motiv, corrections.
- Select all, copy as reduced on one layer, paste “in same position” in a new layer „print”.
- Activate your „motive“-path, create selection, expand selection with 8px.
- Use the path panel create a new working path from this selection, save path as „cut path „.
- Save file as „PRINT“ file.
- Change the size (multiply with 4) to 200 x 200 cm, the dpi to 100 dpi (divide through 4).
- Delete alle layers and paths except the layer „print“ and the path „cut path”.
- Change the profile to cmyk, make last color adjustments.
READY FOR PRINT!
Possible questions:
Why photoshop and not In-Design?
Printhouse print data delivery specs.
Why a black trim?
In this case, because the artworks are printed on Alu-Dibond with lateron black reverse and edges.
Why not directly work in the 100 dpi end-resolution?
In 400dpi you can make better corrections in the artwork (f.ex. with copy stamp or repairbrush) and at the trim-edge.
Why a 5 mm trim?
Actually its not really 5, its 3 mm. But the diameter of the rotary cutter has an intolerance of 2 mm. If I would create my cut path directly at my f.ex pencil drawing line it might happen, that it cuts my pencil line away – not good :-)
Of course my explanation is quite rough, there are multiple other possibilities and it depends always from the Printhouse specs. But this is the way I found out best working for me. I hope this helps, best way is to try out ! :-)
Of course you will need a good printhouse – my recommondation: Dinkela Druck München. They are just great.